
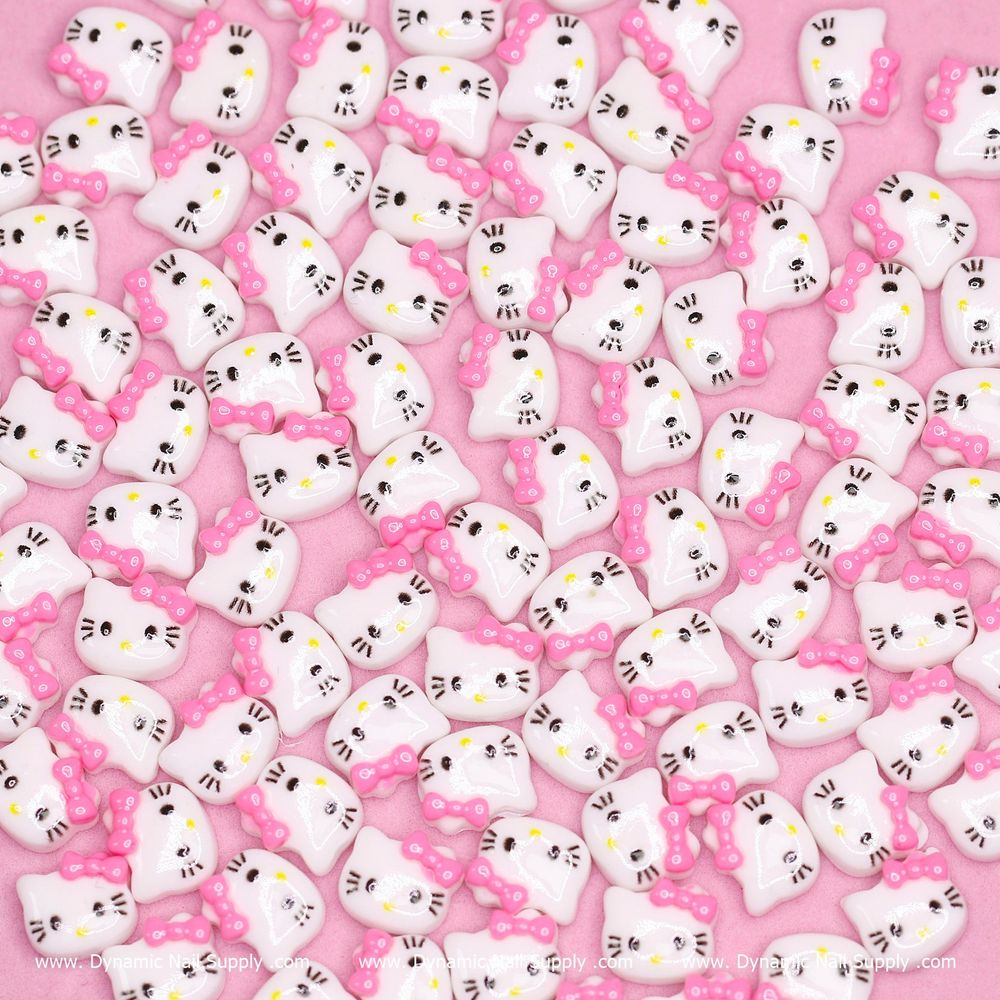
Small accents can make a manicure feel custom and couture. These pink Hello Kitty resin nail charms let you add a playful, kawaii focal point to tips, accent nails, and nail art sets without a long manufacturing lead time.
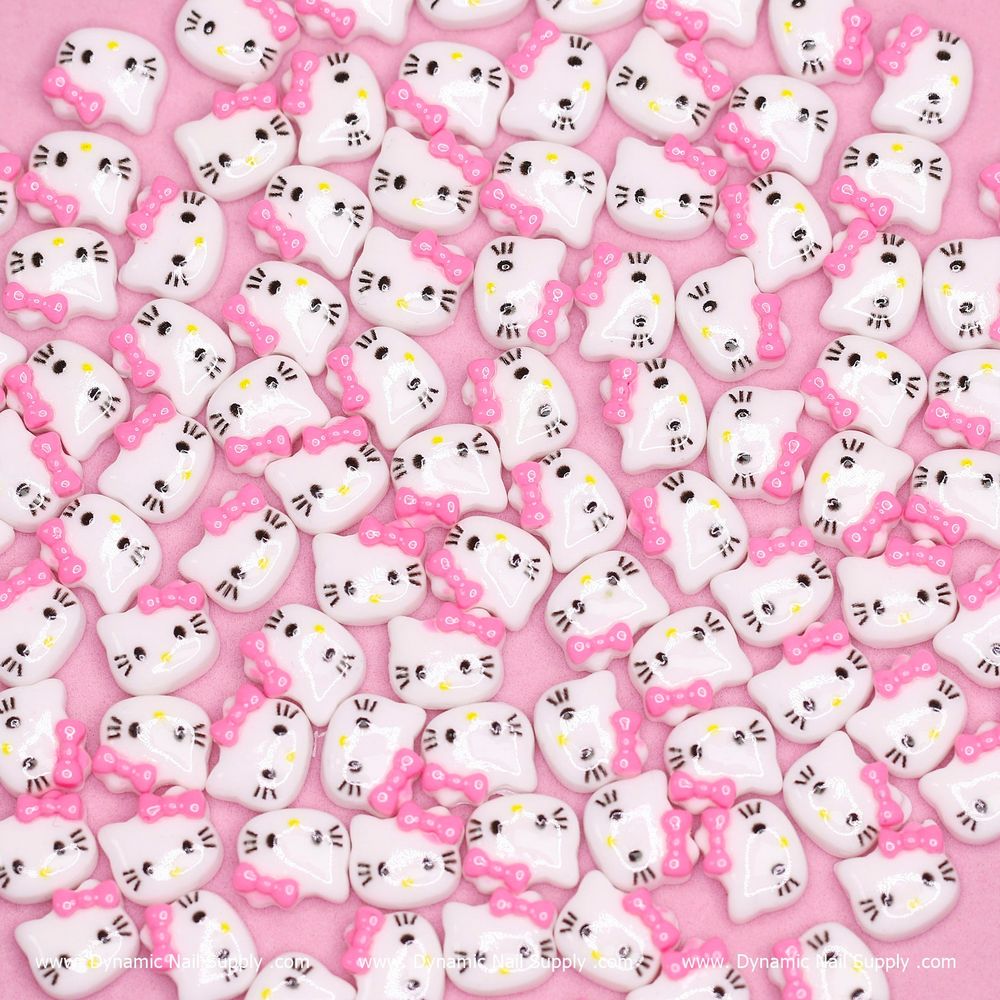
Each bag contains 100 pink resin Hello Kitty charms, perfect for repeat clients or a busy at-home collection. If you want an easy way to stock up, order this Hello Kitty set and keep multiple charm-ready nails on rotation.
Why nail techs and DIYers choose small resin charms
Resin charms are lightweight, inexpensive to stock, and straightforward to place — which is why a single 100-piece bag is a useful staple. They give a distinct three-dimensional accent that works over polish, builder gels, and acrylic enhancements. Because this product is sold in a 100-count bag, it’s especially handy when you want to offer matching accents across several sets or practice consistent placement.
Tools and prep for salon-quality placement
Basic tools to have on hand
- Clean workspace and lint-free wipes
- Cuticle pusher and nail buffer
- Nail glue or gel adhesive depending on your chosen finish
- Fine tweezers or a wax picker for precise placement
- Top coat (regular or gel) to seal the charm edges
Prep steps before you place charms
- Sanitize hands and tools, then push back cuticles for a clean look.
- Buff the nail plate gently where each charm will sit to improve adhesion.
- Apply your base color, cure if using gel, and finish with the tack-free layer only if required by your system.
Step-by-step: placing Hello Kitty charms like a pro
- Plan placement visually across the set before gluing to ensure balance — decide whether to use charms on tips, as center accents, or grouped on one nail.
- Using tweezers or a wax picker, pick up a charm by its edges to avoid smudging polish.
- For a speedy method, place a tiny dot of nail glue on the nail and press the charm into place for a few seconds until secure.
- If using gel adhesive, position the charm, then cure under a lamp according to your gel instructions to lock it in.
- Seal around the charm with a thin layer of top coat to reduce catching and help edges sit flush — for a smoother finish, apply top coat to the whole nail.
Design ideas: quick looks that read professional
- Single accent: Place one charm on the ring finger over a neutral or pale pink for a chic focal point.
- Row of mini accents: Line small charms along a French smile line for a playful twist on a classic.
- Cluster art: Group three charms at the base of a nail for mini 3D bouquets that photograph well.
- Themed sets: Mix charms with tiny rhinestones or studs from your stash for seasonal or themed manicures.
Care, removal, and safety notes
Because these charms are resin and decorative, avoid aggressive prying when removing them. Soak or gently file the surrounding top coat and then lift the piece with a tool, taking care not to damage the natural nail. Keep charms dry and store them in a cool place to preserve their appearance.
If you’re applying to multiple clients in a salon setting, maintain hygiene by handling charms with tweezers and sanitizing any reusable tools between clients. For sourcing and questions about ordering, the product is offered through Dynamic Nail Supply; note that pricing may change and a bag is currently listed at $10.00.
Who this product is best for
This 100-piece set is ideal for nail techs who offer playful, “cute” manicures, salon owners building a themed station, or DIYers who enjoy experimenting with kawaii accents. Because it contains many identical pieces, it’s also convenient for gift sets, workshop supplies, or practicing layout techniques.
Short wrap-up
With a bag of pink Hello Kitty resin nail charms on hand, you can lift simple manicures into memorable, share-worthy looks. Follow basic prep and placement steps, seal carefully, and experiment with placement patterns to deliver salon-style results whether you’re working at home or in the studio.
