
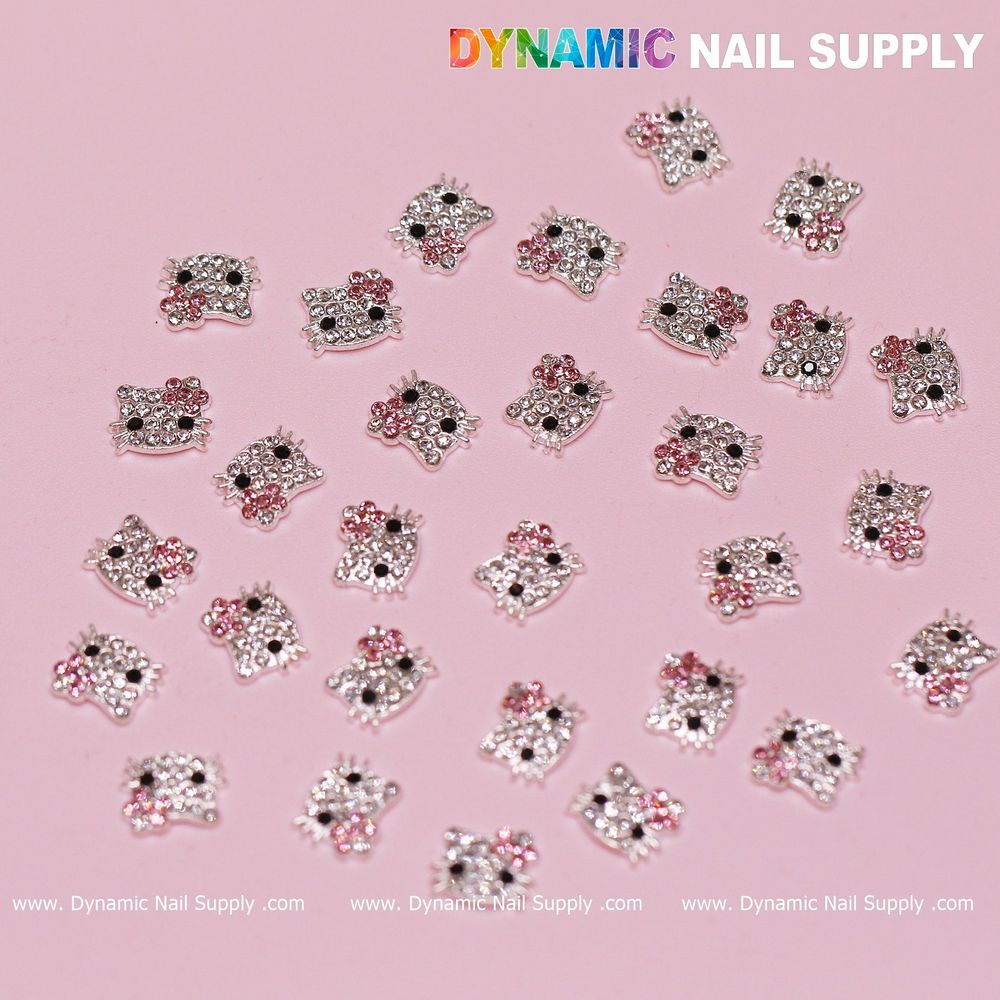
Imagine this: it’s mid-morning at the station, soft light through the salon windows, a bride-to-be settles into the chair and asks for something delicate — a soft baby-pink bridal nail charm on one finger only. You already know the exact piece to reach for: a small pink metal cat-head charm with clear crystals and a light rose-pink crystal bow. Today’s station routine shows how to create an understated, photo-ready accent nail that lasts through the ceremony and the photos.
Prep: Start Clean
You set the tone by prepping like a pro. Remove any old product and push back cuticles. Lightly buff the nail plate to remove surface shine, then cleanse with your preferred dehydrator. For a bridal client you want flawless adhesion but a natural-looking base, so choose a builder gel or hard gel that levels without adding bulk.
When you read the client, work on the ring finger first. That’s the accent finger most brides choose. File to a soft oval or squoval — shapes that complement a feminine, bridal look. Make sure the nail edge is smooth; the charm sits against the arc of the tip, so a flat or jagged edge will stop it from laying right.
Paint: Soft Baby Pink Base
Apply two thin coats of a baby-pink gel polish, letting each cure fully. The goal is a soft, even canvas: not a paste of pigment, but a translucent blanket of color that reads bridal in photos. If you prefer a sheer effect, dilute your second coat slightly with clear builder gel to create a wedding-veil finish that still reads pink close up.
For an ombré or a pale gradient, blend a lighter pink toward the cuticle and the soft baby-pink toward the tip. Keep the accent nail subtly different than the rest so the charm pops without screaming for attention.
Placement: Set the Single Pink Metal Cat Charm
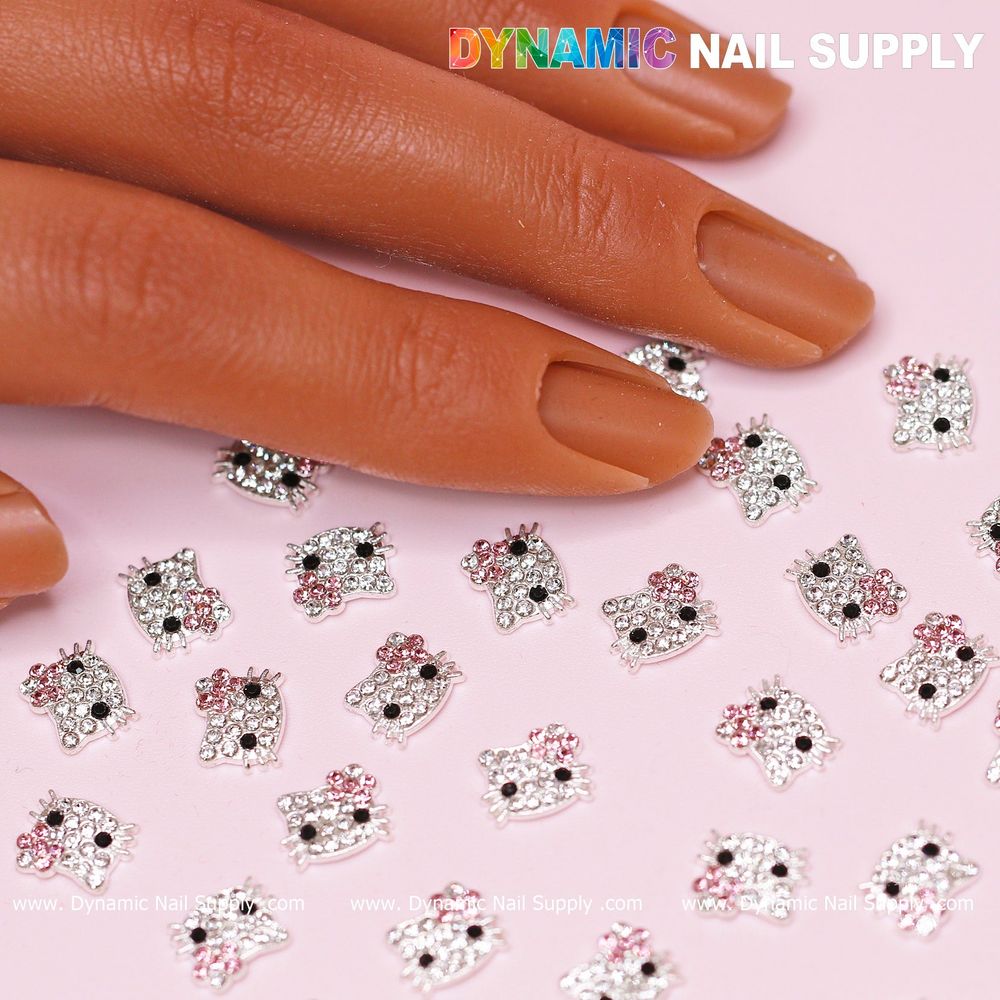
Here’s the station moment where small details matter. The charm you’ll use is a small silver-outlined cat head covered in clear faceted crystals with a light rose-pink crystal bow and two jet-black crystal eyes. Its silver metallic edge gives definition against the pale base, and the bow adds a tiny flash of rosy color that photographs well.
- Choose the spot: Visualize the final photo. For ring-finger accents, set the charm slightly off-center toward the cuticle so it sits comfortably under a ring and captures light when the hand moves.
- Pick the adhesive: Use a gel adhesive base or a tiny bead of builder gel. For longest hold, a small amount of thick gel cured under the charm creates a secure seat.
- Seat the charm: With tweezers, place the charm placement side down into the uncured gel. Adjust until the bow faces the desired direction and the charm is parallel to the nail edge.
- Flash cure: Briefly cure 2–5 seconds to set position. Then encapsulate the edges—see the next section for details.
Work confidently. The pink bow crystals and the clear faceted stones catch salon lights, so a millimeter shift changes the sparkle. Aim for balance: not centered like a brooch, but positioned to read natural with a ring.
Finish: Encapsulate for Durability
Durability is critical for bridal wear. Use a thin layer of builder gel to encapsulate the charm edge without covering the top of the crystals. The silver outline and jet-black eye dots should remain visible; the goal is to lock the charm in place while preserving its sparkle.
- Apply a thin veil of builder gel around the base of the charm — not smothering the crystals.
- Cure fully to avoid any tack that could trap lint or cloth fibers.
- Finish with a high-gloss top coat on the surrounding nail, carefully stopping at the charm base to maintain contrast between metal and gel.
If the client wants extra shine on the crystals, a final, very light gloss wipe over the exposed rhinestones can deepen reflections; use a lint-free wipe and a dot of clear gloss only where needed.
Stationside Styling: Photo-Ready Tips
At the station you’ll handle lighting and pose suggestions. Ask the client to practice a gentle hand angle that shows the charm and the ring together. Remind them that the small light rose-pink bow reads softer in natural light and pops under flash because of the clear crystals surrounding it.
Tools you’ll use during the appointment include fine tweezers, a small sculpting tool for gel placement, a curing lamp, and a builder gel with medium viscosity. Keep an extra charm in your kit; this set contains thirty pieces so you have backups for touch-ups or test fitting on a practice wheel.
Aftercare & Safety
Tell the bride to avoid harsh knocks on the charm and to dry hands thoroughly after water exposure. Because these are metal charms with faceted crystals, avoid acetone soaks directly on the charm — advise the client to protect the ring finger during any at-home polish removal. If the charm loosens, return to the salon for a quick re-seat; a small amount of fresh gel will secure it again.
One practical note: this set is sold as thirty pieces in a single bag and is priced at $11.99 at listing time; prices may change.
Mini Glossary
- Encapsulate: Locking a decoration into gel without covering its top surface.
- Builder gel: A thicker gel used to create structure and secure charms.
- Flash cure: A short cure to set placement before final encapsulation.
- Placement bead: Small lump of gel used as a seat for a charm.
Recap: this baby pink bridal nail charm technique centers a delicate pink metal cat-head charm with clear crystals and a light rose-pink bow on a soft baby-pink base for a polished, photo-ready accent. Use controlled placement, thin encapsulation and careful finishing for long-lasting wear.
Use this set of pink metal cat charms to create a subtle bridal statement that complements traditional soft pinks and keeps the accent timeless and refined; pink metal cat charms
Quick Recap
- Prep: clean, buff, and shape the ring finger first.
- Paint: build a soft baby-pink base with thin coats.
- Place: seat the silver-outlined cat charm with a small bead of gel and flash cure.
- Finish: encapsulate edges, cure fully, and apply a glossy finish.
