
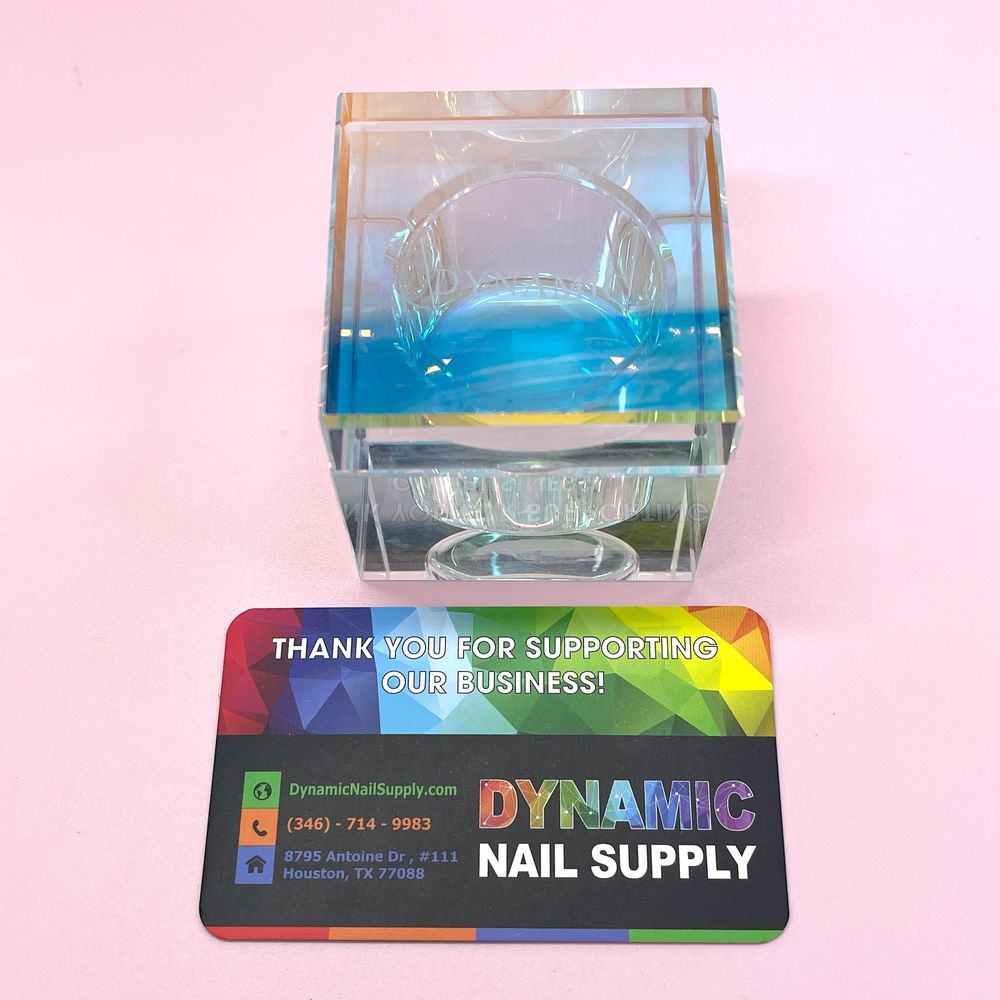
Imagine your busiest chair: a client leans back, soft music plays, and you reach for a square dappen dish that sits ready beside your monomer bottle. The square shape makes a clean visual cue on your station—no fumbling to find the cup—and the clear, glass-like acrylic catches pastel iridescent highlights that keep the station looking polished. This article walks you through a full salon-day workflow, showing exactly how to use a dappen dish for acrylic mixing so your beads are consistent and your process stays tidy.
Prep: Start Clean
You set the station like a pro. Place the square dappen dish on a silicone mat or a non-slip pad to keep it from moving. The center cup is compact, so keep your monomer bottle right behind it. Before you begin, wipe the rim of the monomer bottle and your brush handle with a lint-free wipe. A clear, faceted dish like this one shows iridescent reflections that help you spot any residue quickly—use that to your advantage.
Position: Where To Place The Square Dish
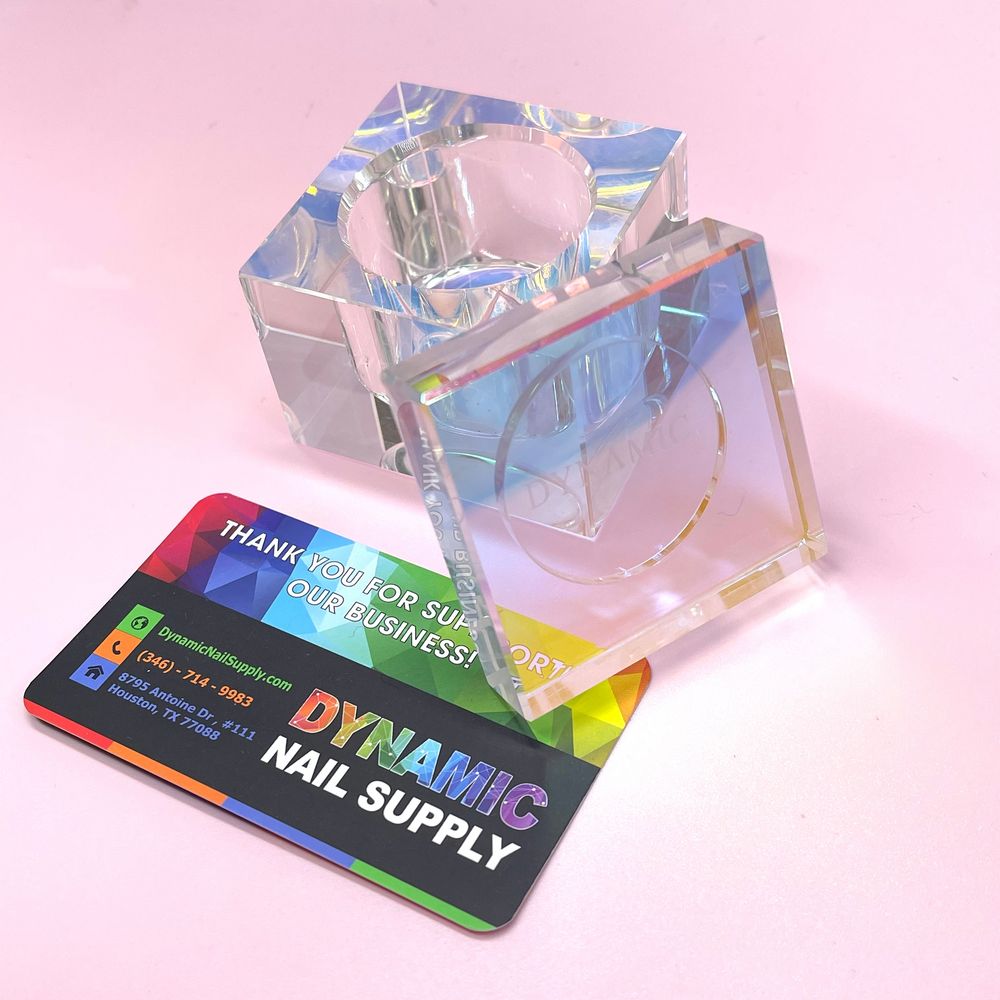
The square design gives you directional cues. Put the flat sides parallel to your work edge so you can read bead size and shape against a straight line. If you stand to the client’s right, set the dish slightly to your right-rear; if you sit, place it behind your hand so you can dip without reaching. The square profile also prevents rolling on a sloped surface the way round dishes can.
Measure: Bead Size Control
Consistent beads start with a consistent dip. Use the center cup as your primary reservoir: its smaller width keeps the monomer level shallow so each dip picks up a similar amount. Dip your brush into the cup and roll it gently between your fingers to form the bead—avoid plunging deep. The clear material with its soft rainbow sheen makes it easier to see how saturated the brush is, so you won’t overload and you’ll form predictable beads.
Mix: Step-By-Step Bead Workflow
- Load Brush: Dip the brush just enough to moisten the bristles. The square dish’s compact center cup reduces excess monomer on the ferrule.
- Form Bead: Tap and roll on the rim of the center cup to remove drip. Pull a small drop and let surface tension create the bead.
- Deposit: Place the bead at the nail’s apex and sculpt. Repeat, using the same dip depth each time to maintain bead size.
- Refresh Often: Replace monomer in the center cup when it becomes cloudy or when debris collects. The clear acrylic makes it easy to see when clarity changes.
Tip: Use The Square Edges
Square corners are useful beyond looks. When you need a tiny amount of monomer for detail work, tilt the dish so a corner catches a shallow pool—touch the brush to that edge for micro-doses. The iridescent facets across the sides help catch light, making micro-pools visible even in low light. That visual cue supports precision work like fine apex placement or thin overlays.
Hygiene: Keep The Dish Sterile
Because the dish is clear and glossy, it shows product build-up quickly. After each client, empty and rinse the dish with a recommended solvent for monomer residue, then wash with warm soapy water and dry. Store the dish upside down on a clean surface. Avoid leaving monomer sitting in the dish between clients—fresh mixes reduce contamination and odor buildup. Use a small, covered container for long gaps, but keep this dish as your active mixing cup.
Safety: Simple, Sensible Notes
- Work in a well-ventilated area to limit exposure to fumes.
- Avoid prolonged skin contact with monomer; clean spills quickly and use gloves when needed.
- Keep the dish on a stable, heat-resistant mat—don’t place near open flame or hot tools.
How The Look Helps: Visual Advantages
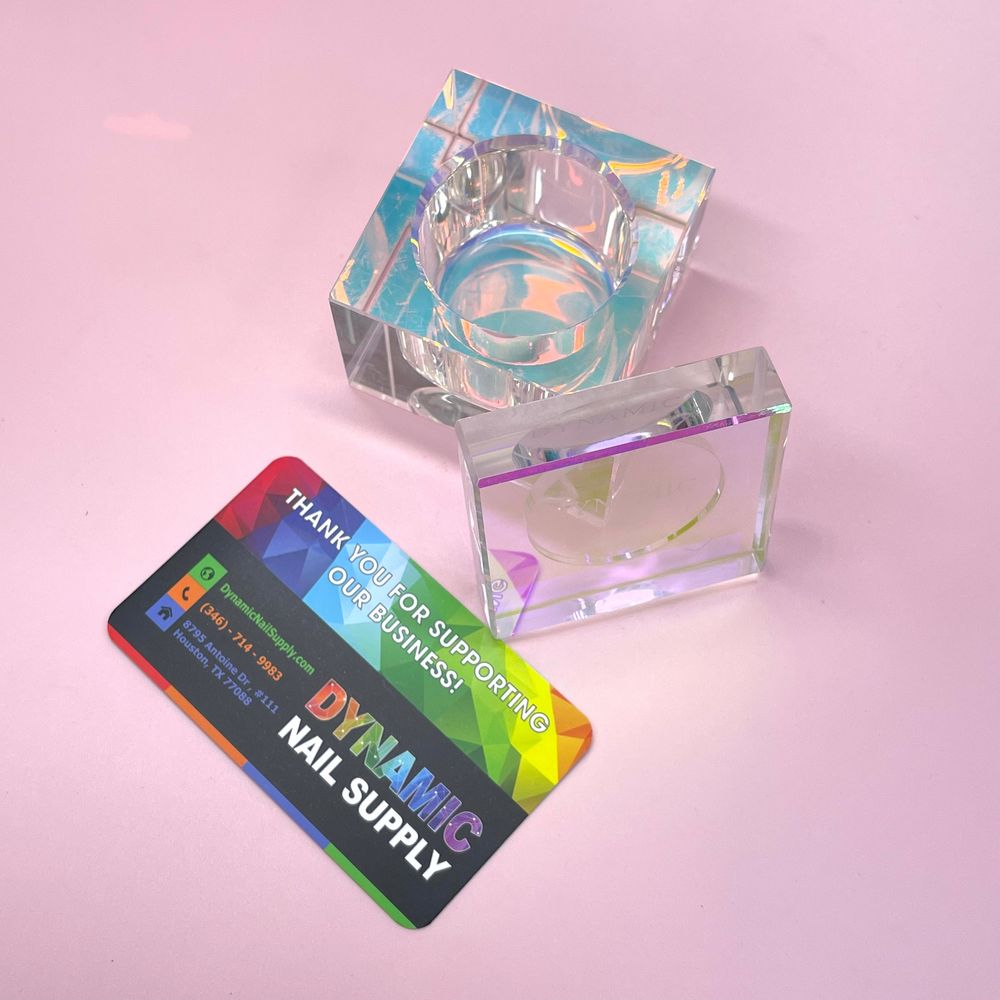
The square, geometric design and subtle pastel iridescence do more than look nice. That soft prism sheen reflects across faceted edges, giving contrast between clear monomer and the dish surface. You’ll notice bead edges more clearly than on a dull dish, which speeds up judgment calls during a full set. The pastel highlights in pale blue, lavender and lemon-yellow tones complement salon decor and help you present a tidy, modern station.
Station Flow: A Typical Set Sequence
Here’s how a full set flows when you use this dish as your main mixing cup:
- Prep nails and set client in the chair.
- Set the square dish on the mat and pour a fresh amount into the center cup.
- Form consistent beads, placing apex beads first and working outward.
- Refill the center cup as needed and replace product that becomes cloudy.
- Clean the dish immediately after the set and dry for the next client.
Care: Long-Term Use
Handle the clear acrylic gently—avoid abrasive cleaners that can dull the sheen. Rinse, wash, and dry; inspect the faceted edges for chips before each use. If the surface becomes scratched, polish with a non-abrasive plastic polish or replace the dish to keep accuracy when judging bead edges.
Mini Glossary
- Bead: A small rounded drop of acrylic formed on the brush.
- Center Cup: The small inner well used for holding monomer or mixes.
- Apex: The highest point of the nail where structure is built.
- Monomer: The liquid component used with acrylic powder.
Price note: this square dappen dish is listed around $15 and prices may change. Keep one on your station—the square identity makes it clear, literally, where your mix lives during a set. When you want a reliable, visual mixing cup that holds predictable amounts and gives you precise control, this square design is a practical choice.
Recap: Quick Takeaways
- Square shape gives directional placement and prevents rolling.
- Clear, iridescent surface helps you judge bead saturation.
- Center cup size supports consistent dip depth and bead size.
- Clean after each client and work ventilated for safety.
This square design saves time at the station because the square shape dappen dish keeps your monomer visible and easy to manage.
